8 Steps to Turn an Old Recycling Cart into a Composter
July 13, 2023 |
This article was contributed by Chesterfield resident Beth Rodgers, a certified Master Gardener and Master Composter.
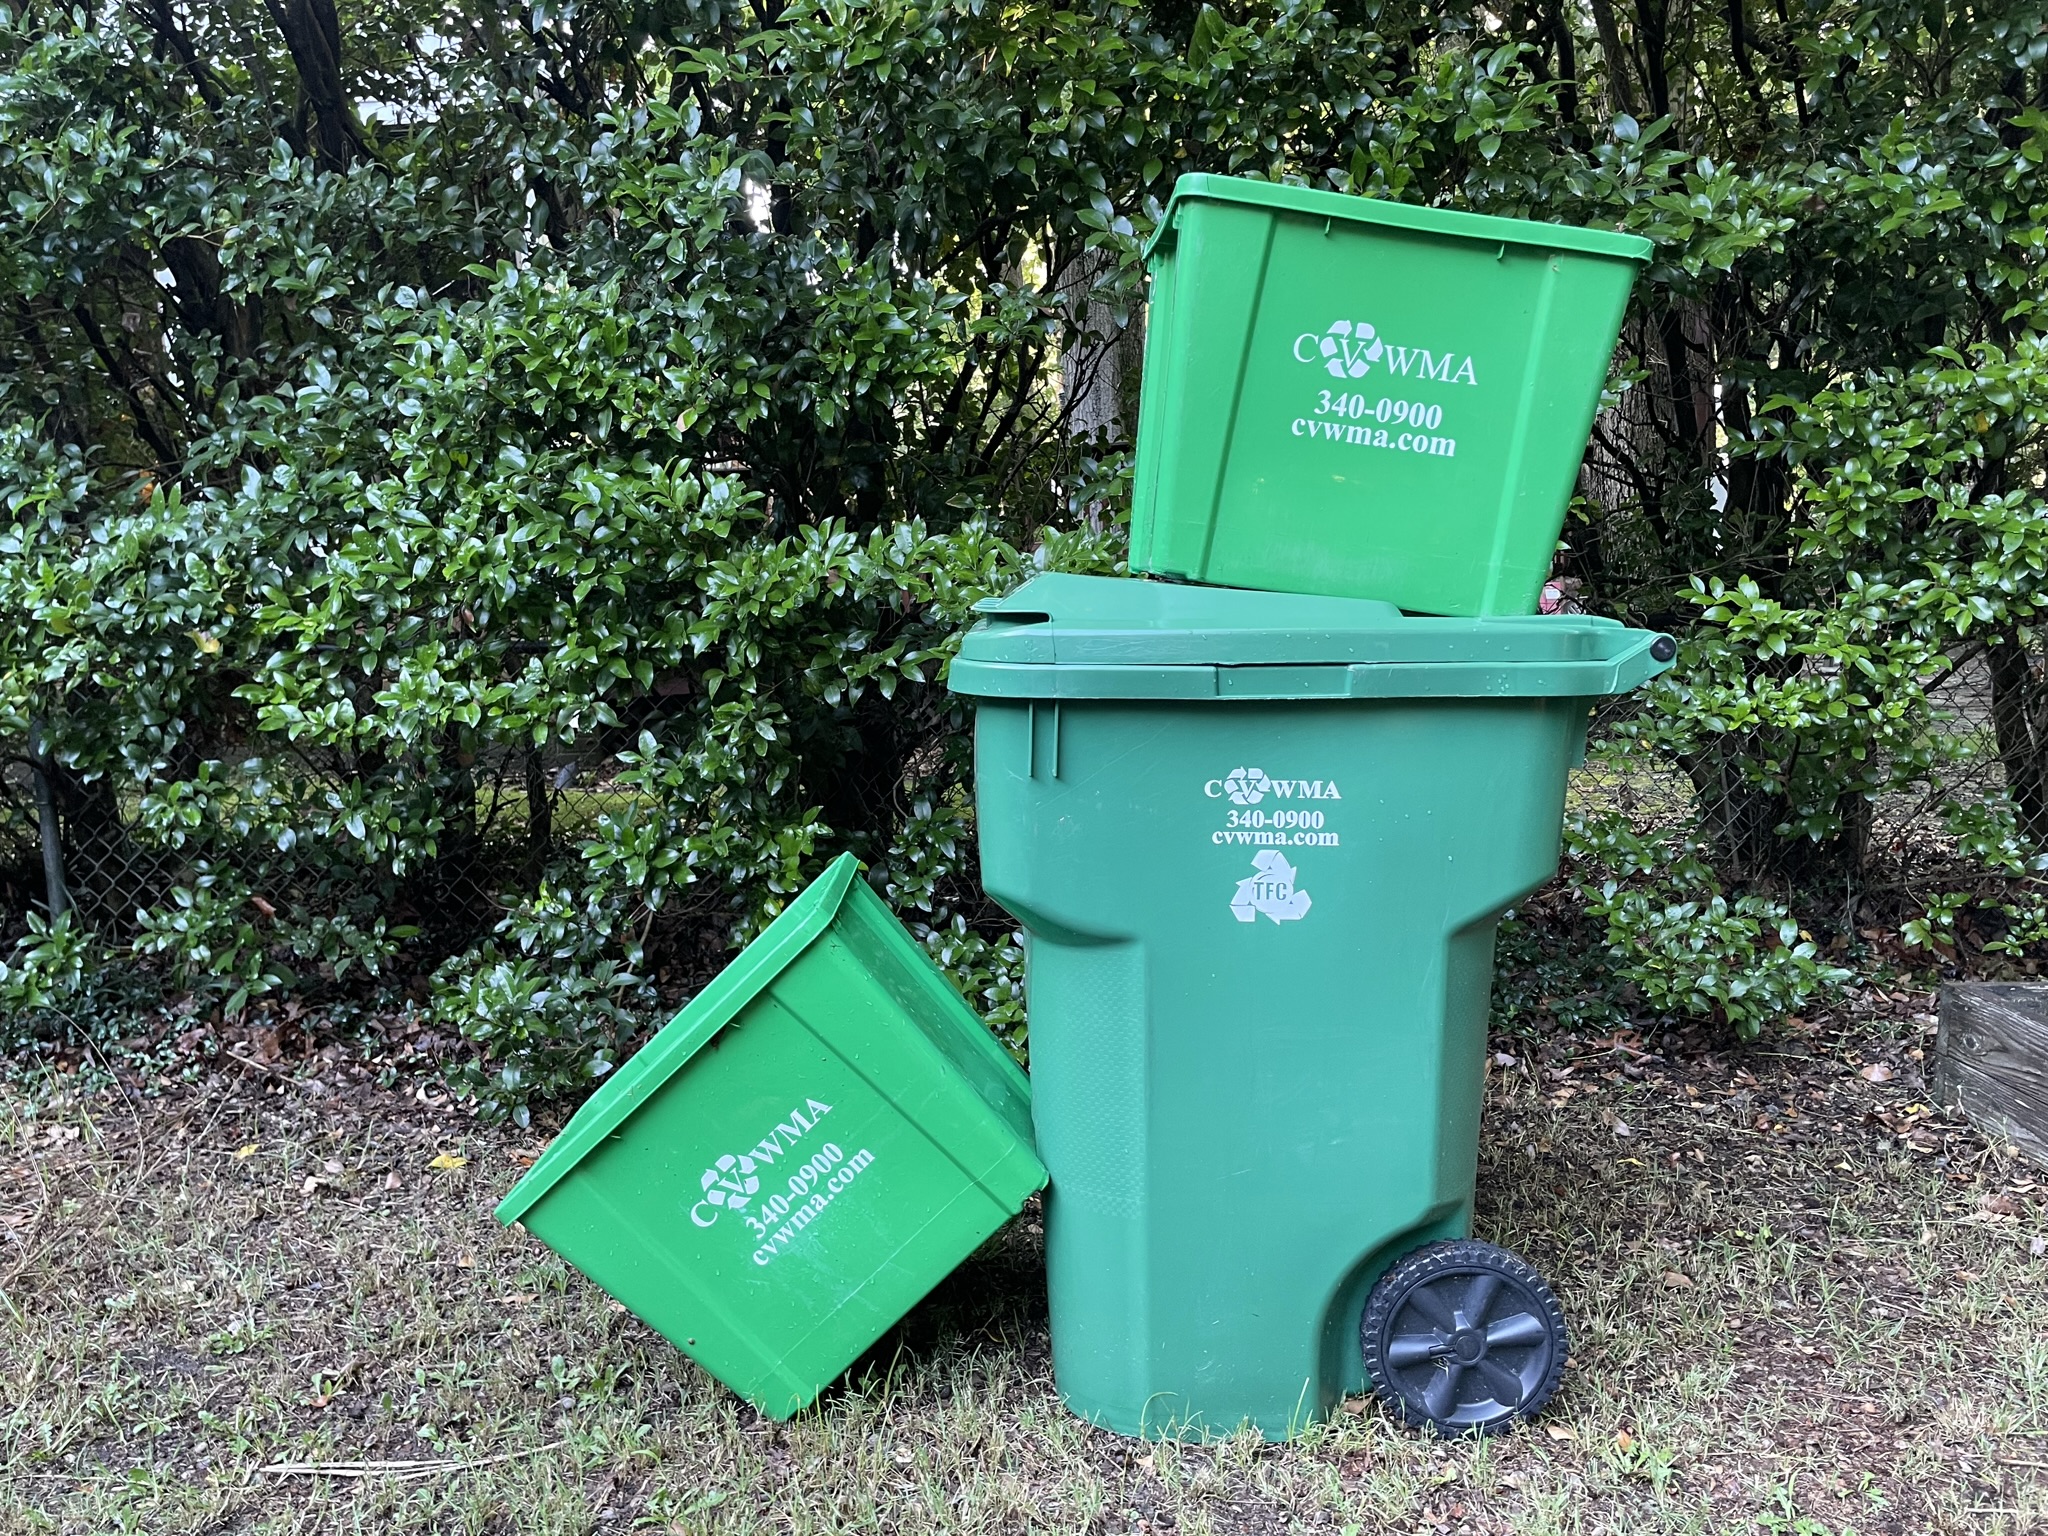
Wondering what to do with your green recycling container if no longer used for CVWMA recycling? Give it a new role in recycling by using it as a composting system!
Composting organic waste (which means living or previously living material) makes an important contribution to the environment by reducing the methane gas that is produced when these materials are sent to landfill. It also can provide some savings around your house by producing a wonderful soil amendment to improve your lawn and gardens just by “recycling” your own household waste.
At least 65% of typical household “trash” is material that could easily be turned into compost. Composting does not smell or attract pests if done properly. It also does not take a lot of time, space or effort.
Your wheeled cart can be converted easily to a composting bin. The smaller bin also could be used this way, but the smaller size will mean slower composting and it may get filled before the composting process is finished. Depending on the amount of waste in your household, a good use for the small bin may be as a holding bin for a larger composter. Just follow a few basic principles and you can put your recycling cart to a new and important use recycling food and plant waste.
The work of composting is done by an array of beneficial organisms ranging from microscopic bacteria all the way up to sowbugs and earthworms. These organisms need the right conditions to do their work: Enough space, plenty of air, the right food mix, and moisture (but not too much). Here’s how you can use those principles to start composting in your recycling cart container:
1. Location, location, location.
Find a convenient location for your cart so you can add materials to it as you generate food and plant waste, where there is access to water, and where runoff from the bottom will not interfere with walkways or nearby structures.
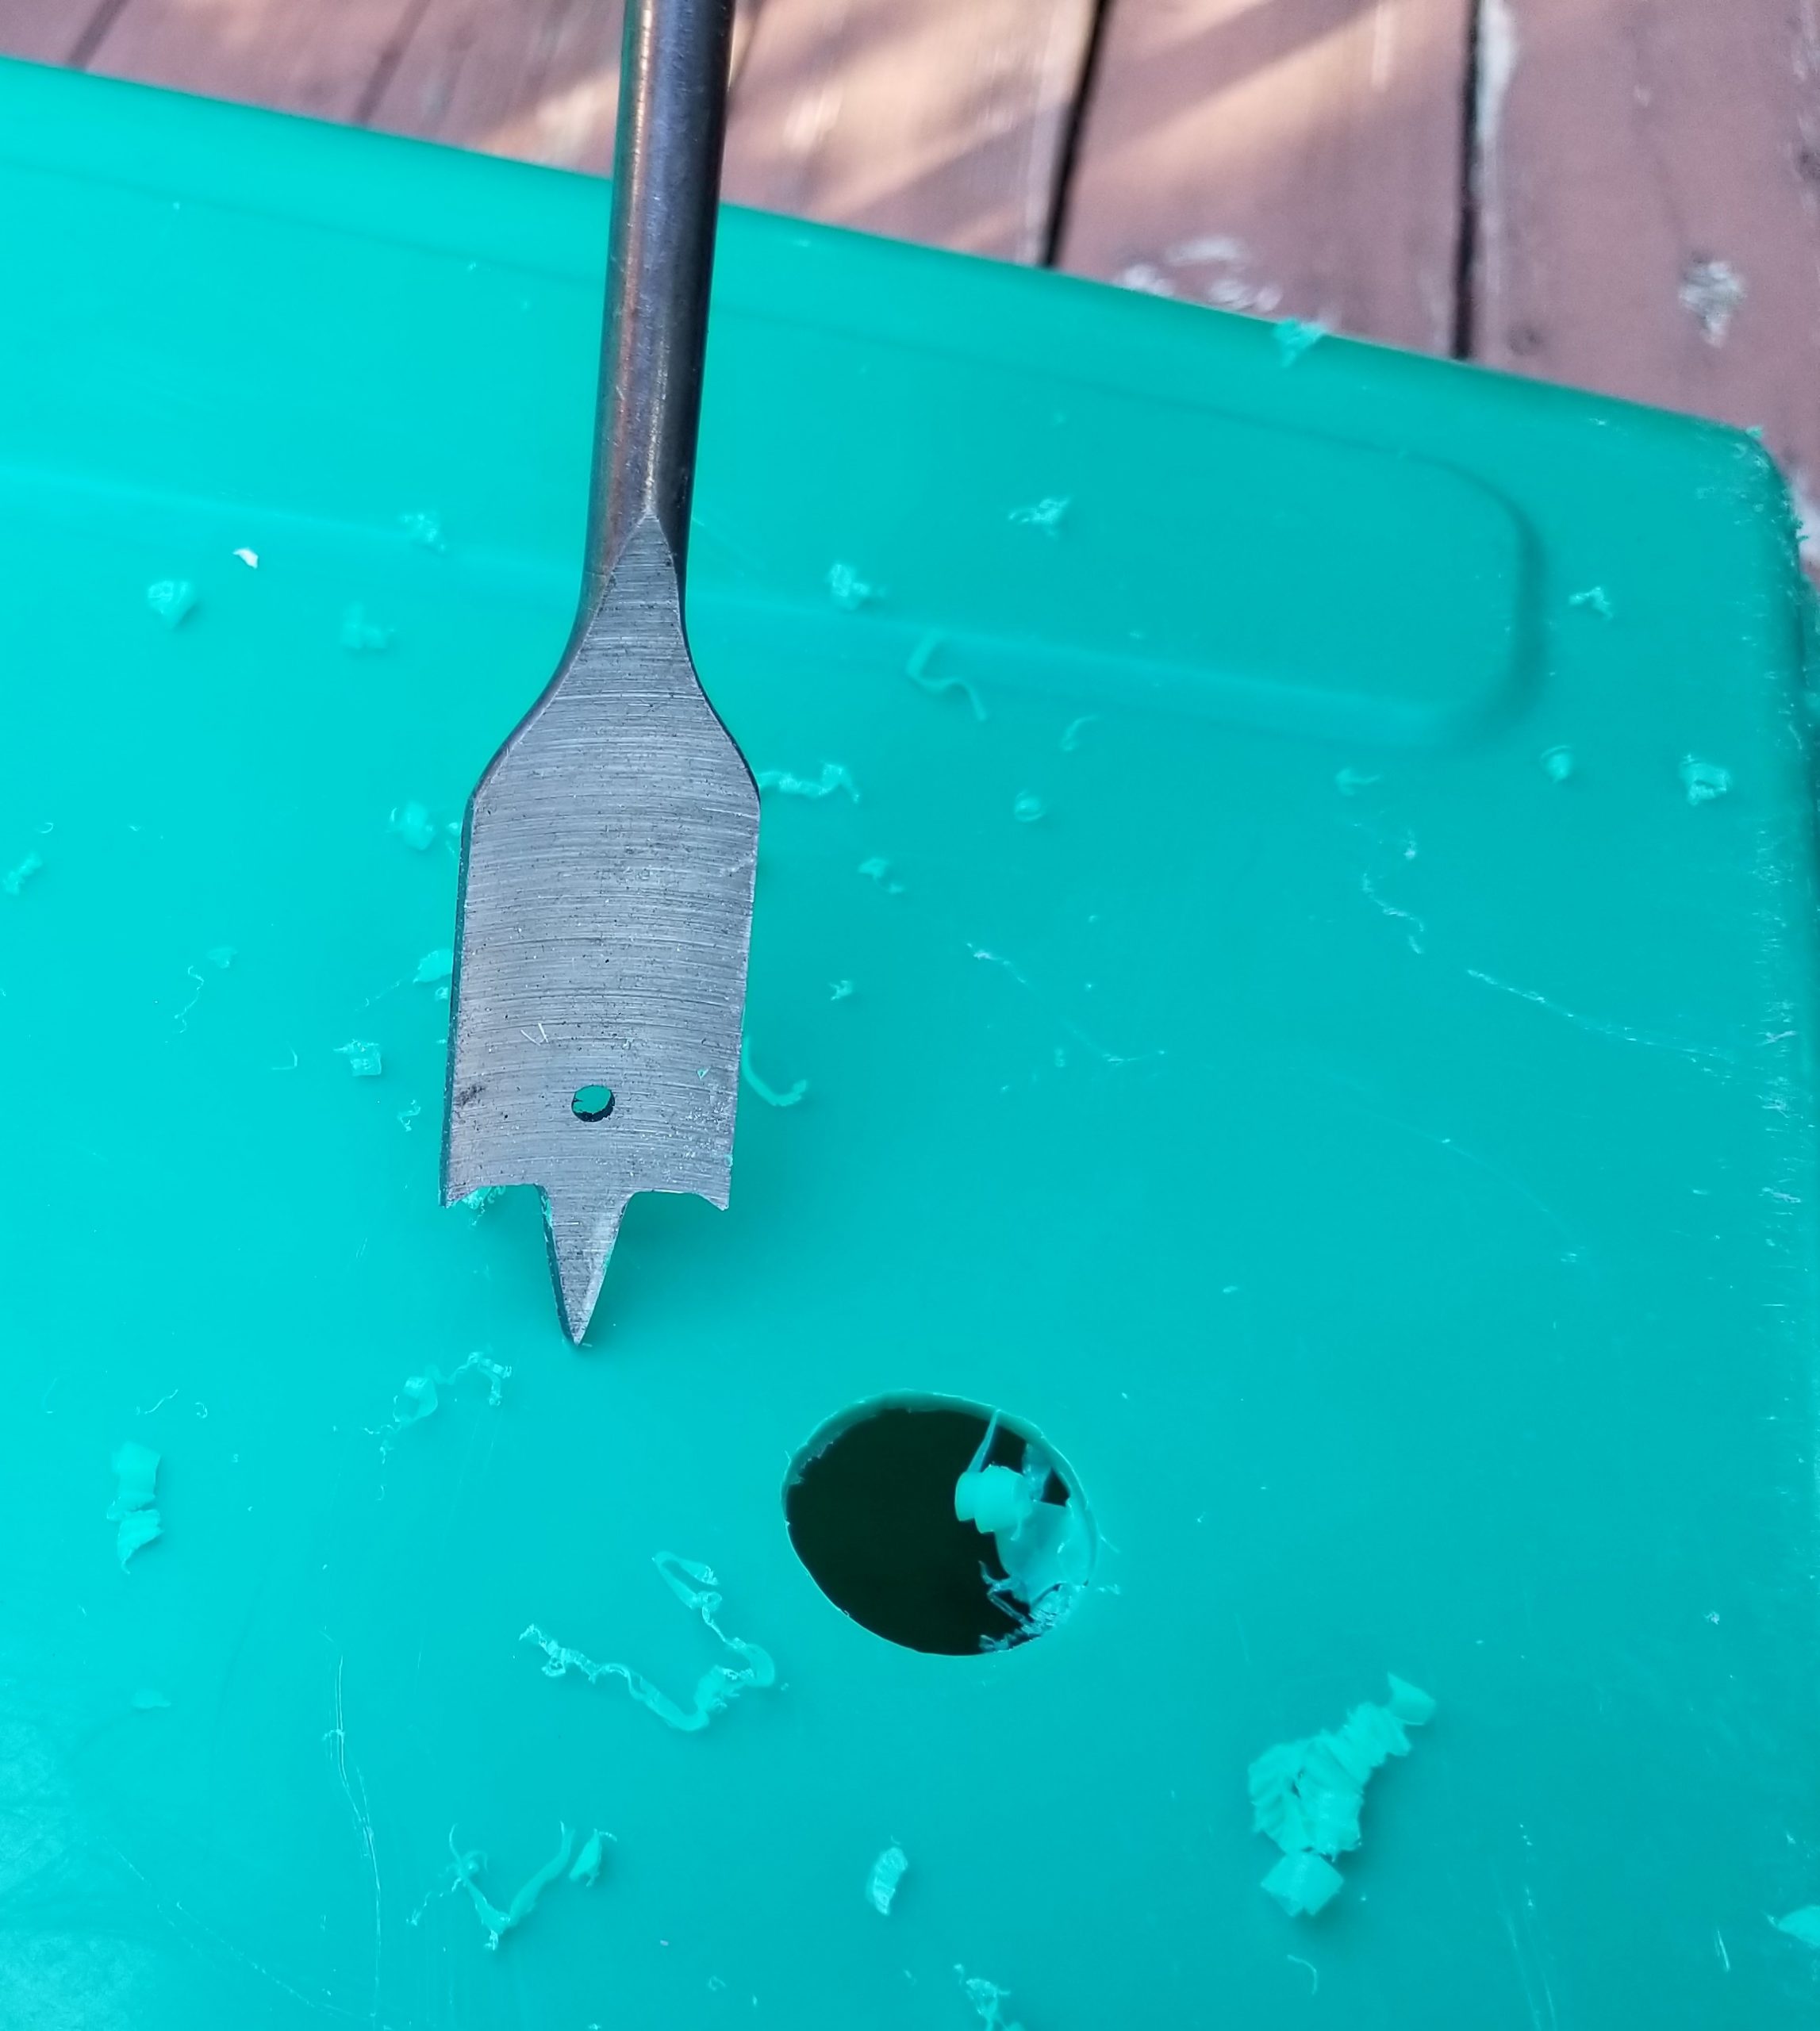
2. Drill your holes.
Drill holes in the cart to ensure good air flow. This is a key factor in keeping your compost from becoming “icky.” Use a large drill or spade bit and drill rows of ¾ inch to 1 inch holes, about 4 inches apart, all around the bin. Put some holes near the bottom edge so excess moisture can drain.
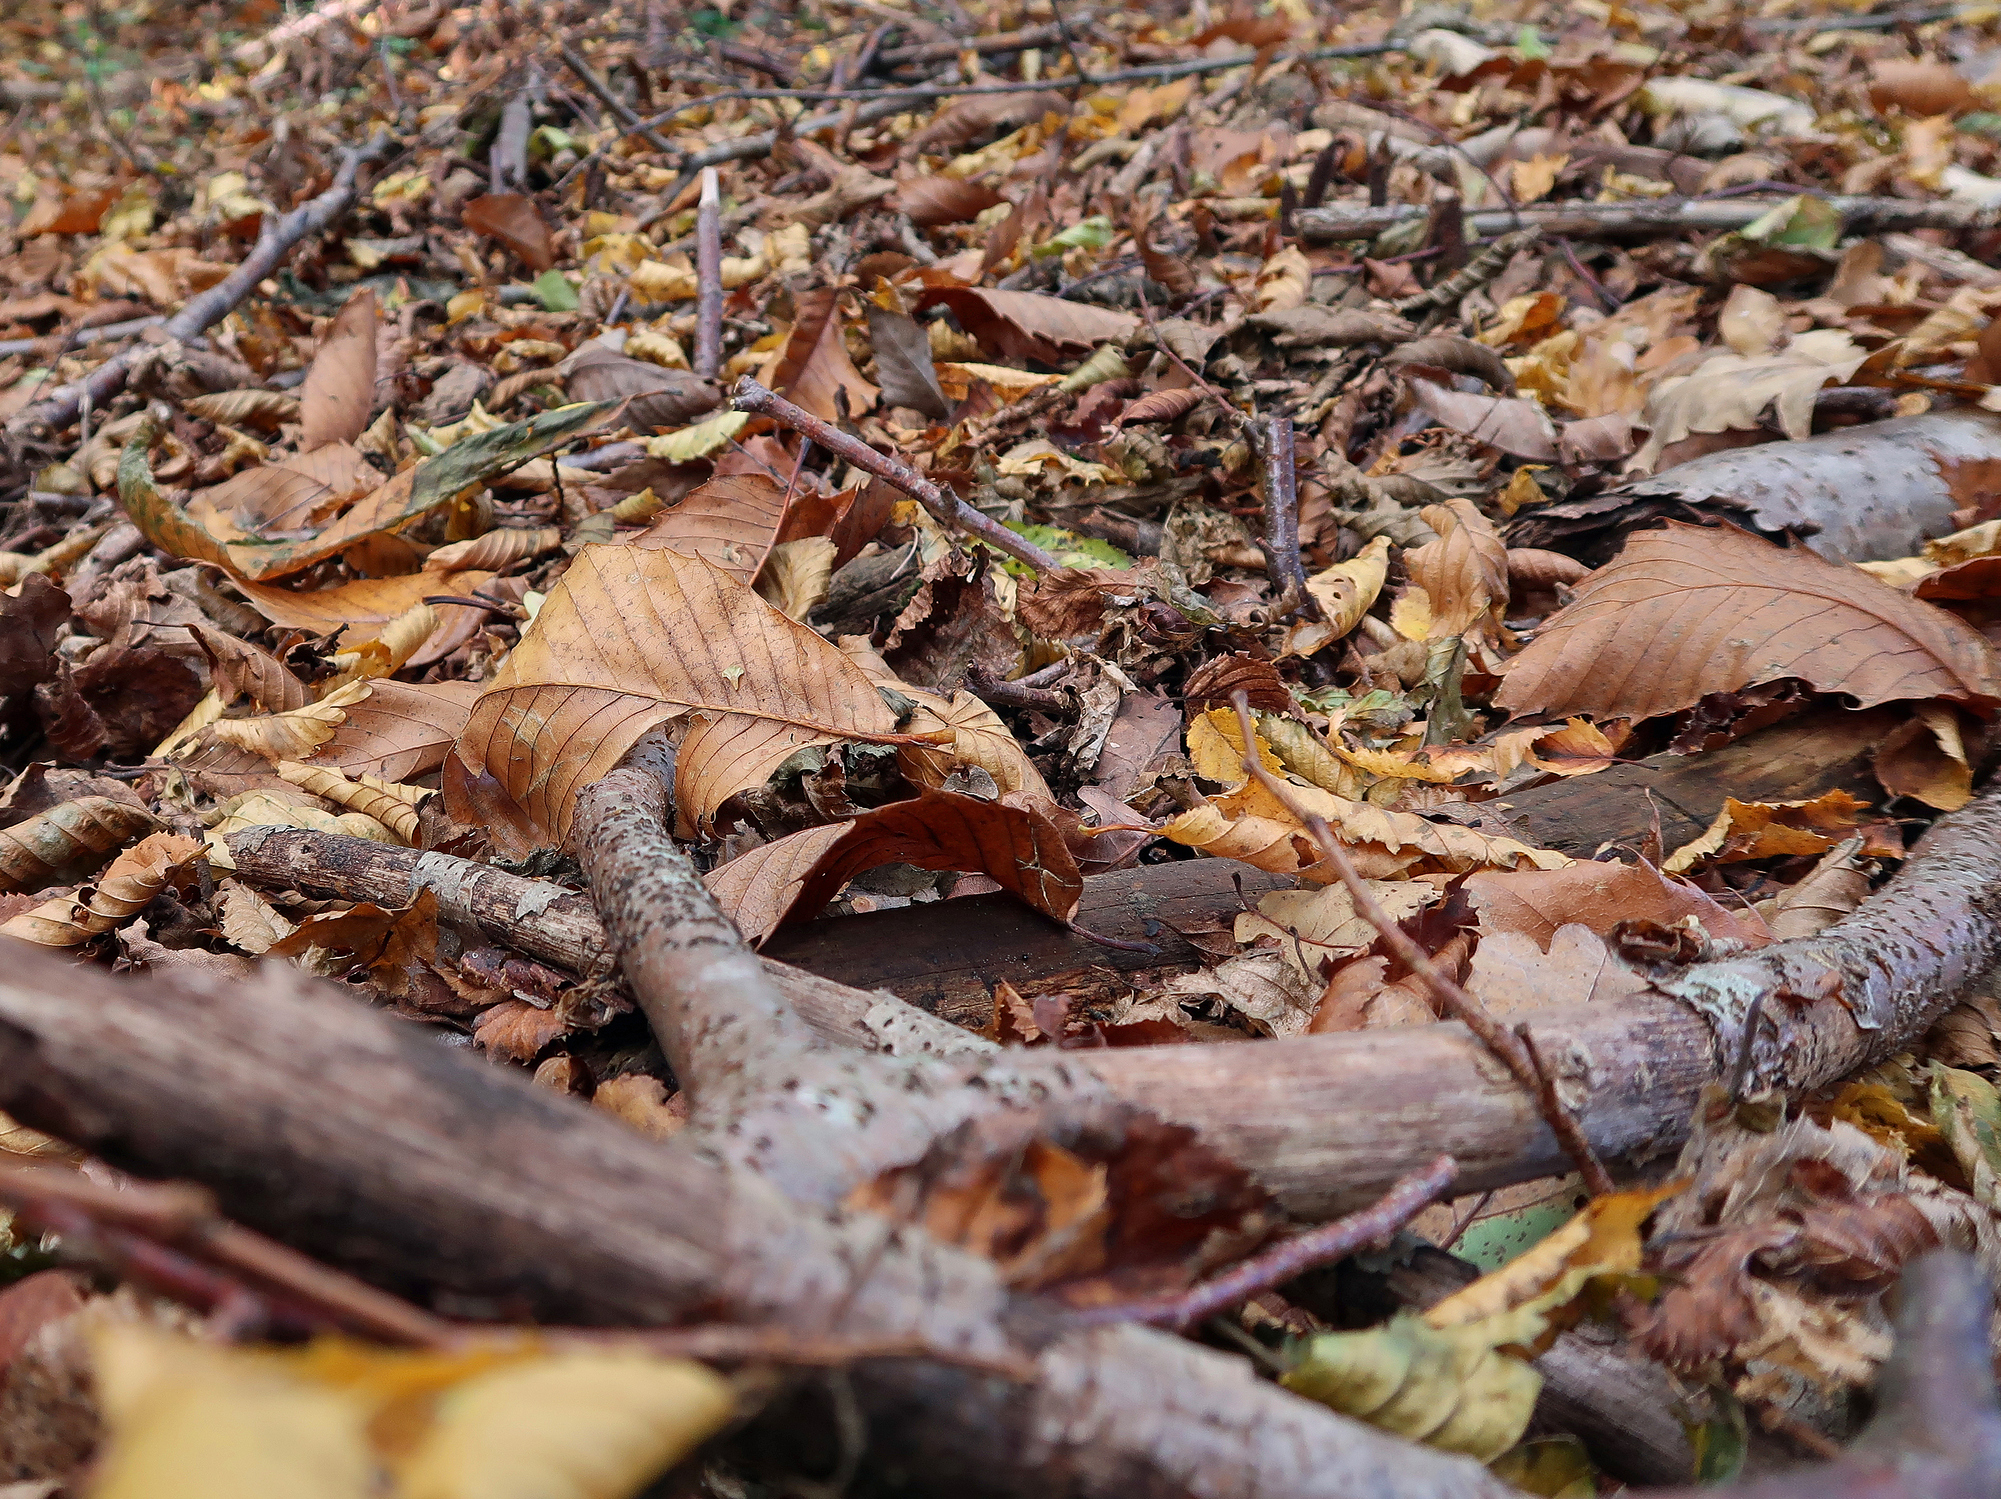
3. Layer with carbon.
Place a layer of twigs, stiffer plant material, or other coarse dry material in the bottom to help with air flow. This is a layer of Carbon material (C, sometimes referred to as “browns”). Other C materials include dried plant material, leaves, paper products, cardboard, and wood chips (no black walnut).
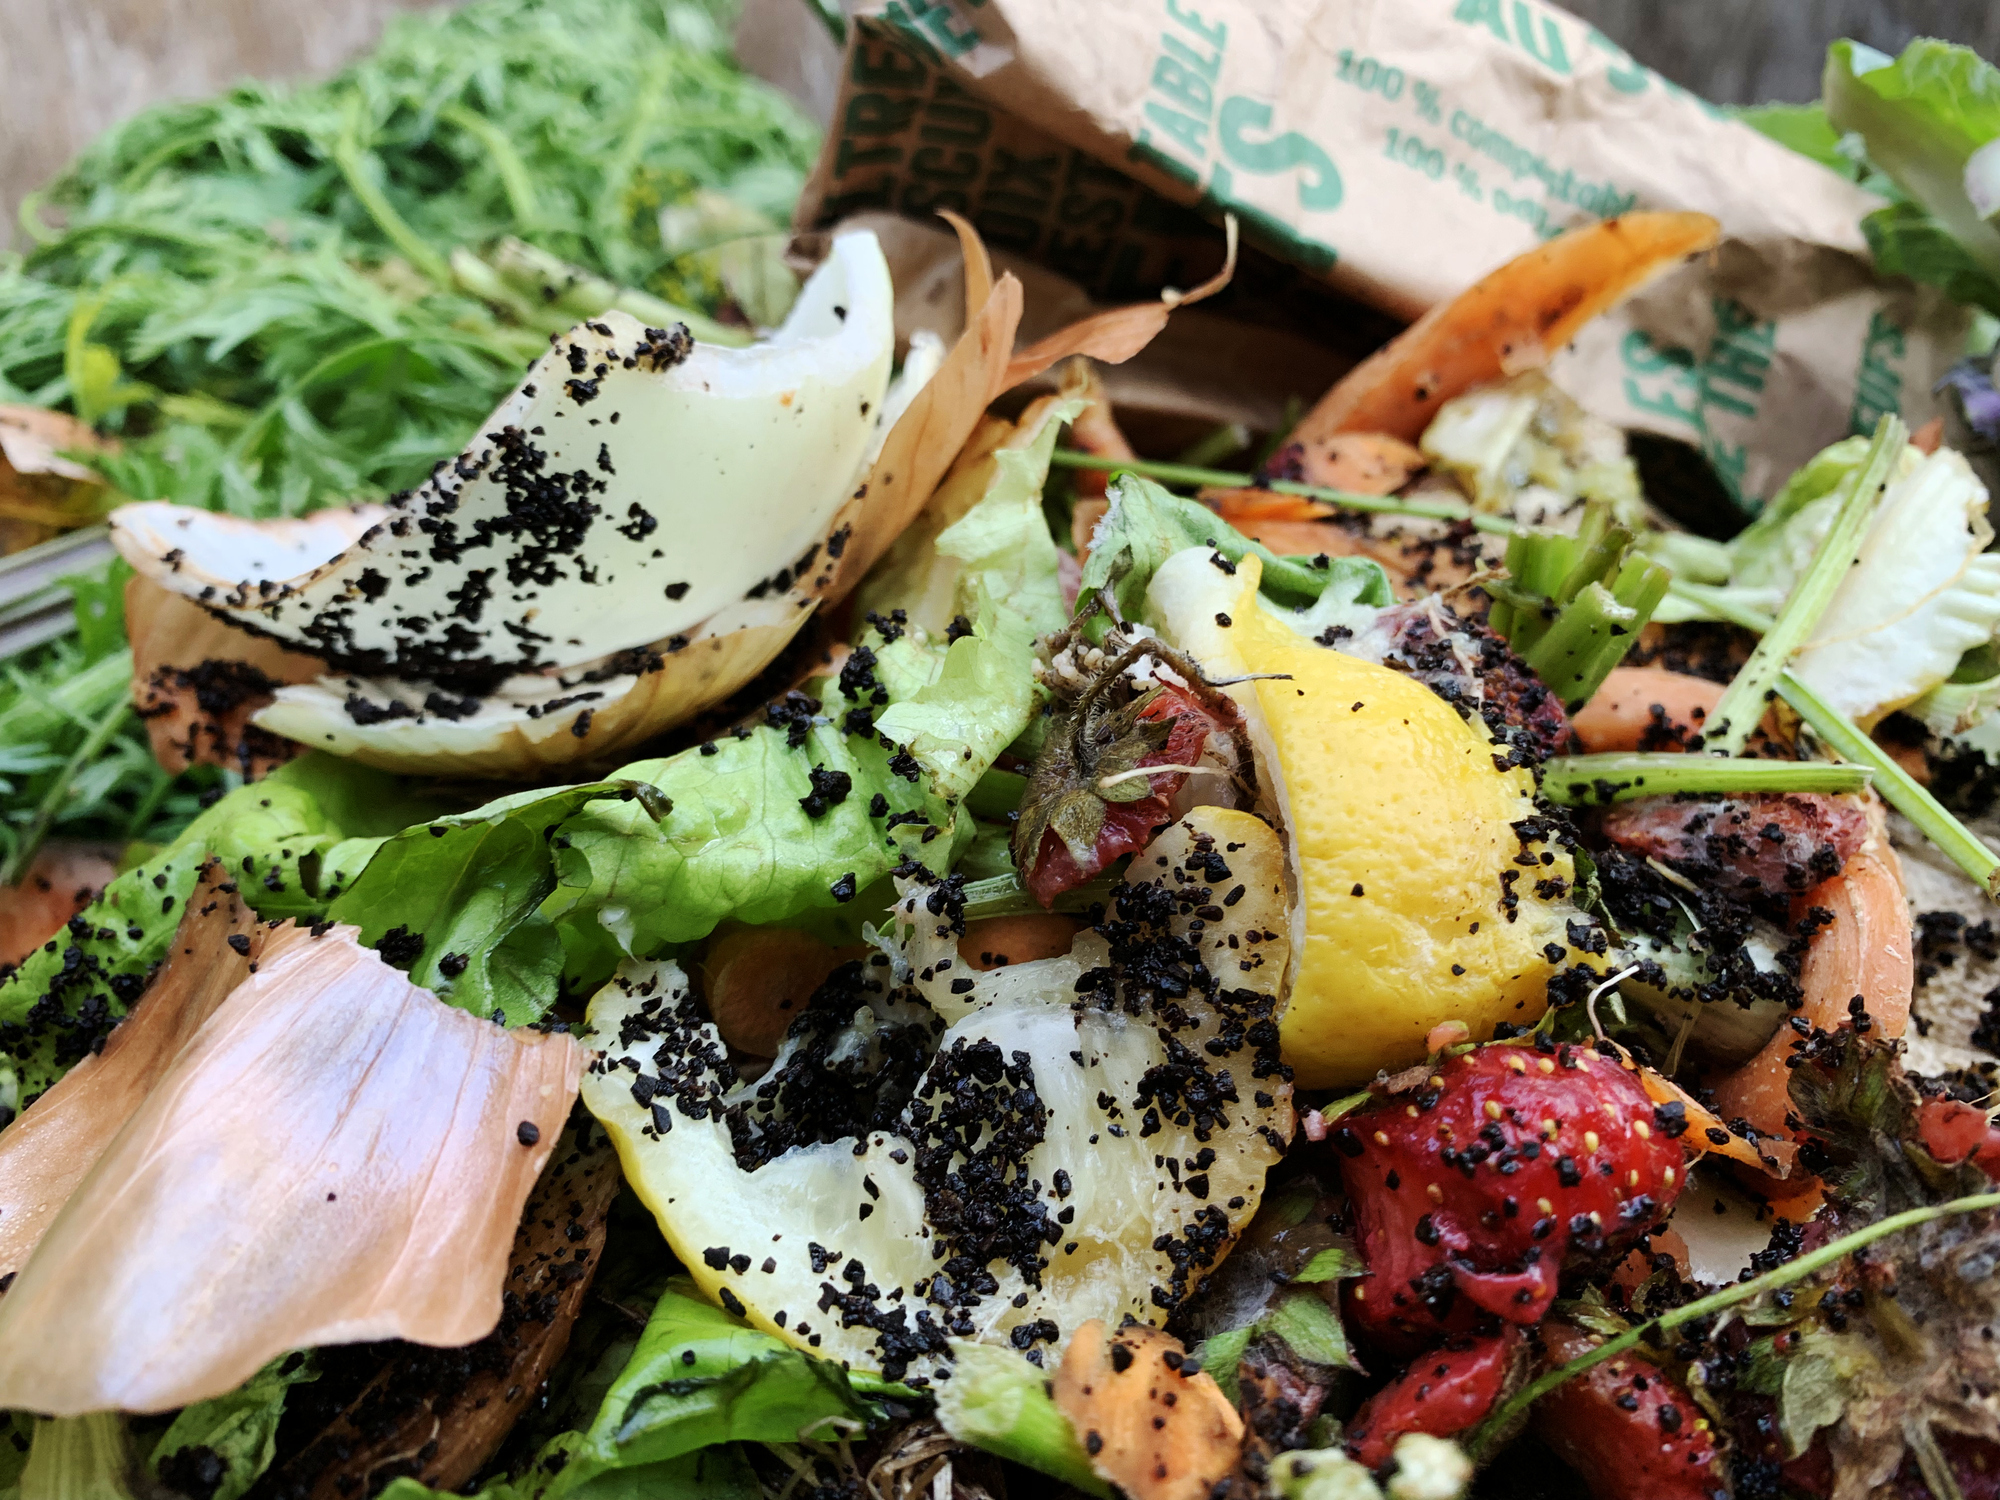
4. Layer on the nitrogen.
Add a layer of Nitrogen material (N or “greens”). This includes green plant material, food waste, and coffee grounds. Keep adding C and N in layers as you fill your bin. Decomposition will occur more quickly if all materials added are cut into pieces of 2 inches or smaller. Avoid adding meat, dairy, bakery items, and oils or greases as those are more likely to attract pests in your recycling bin composter. Keep the cover closed.
5. Be careful with water.
Add water carefully as you fill your bin. The ideal moisture level is comparable to that of a very well wrung-out sponge. Note that food waste often contains a lot of moisture so you may not need to add much water.
6. Take the temperature.
Within a few days of adding material, you will feel your pile getting warm if you place your hand near the pile. This is the result of the organisms decomposing the material in the bin. You can purchase a thermometer to monitor the temperature in the center of the pile and turn whenever the temperature is outside the range of 90 to 140 degrees F. Without a thermometer, plan on aerating the pile to mix everything well about every 7-10 days. Because it may be difficult to get a garden fork or shovel into your tall recycling bin, you can tip it to dump the contents and then shovel everything back in, or you may find that a special compost aerator tool makes this work very easy from the top of the bin.
7. Keep adding!
Continue adding a mix of Carbon and Nitrogen materials (at least half and half). When adding food waste, cover well with at least 3 inches of Carbon materials or push the food into the center of the bin so it is not exposed.
8. Monitor the material.
Be sure to keep the materials very slightly and evenly damp and mix the contents of your bin well, introducing plenty of air, about once each week. If you find it is too wet or does start to smell, add more of your dry carbon material and stir the pile well to get more air throughout.
For faster decomposition, fill your bin, manage the water and aeration properly, and let it decompose without adding new material. That requires having a second container to build a new pile while the first one is actively decomposing. In time, the volume in your bin will be reduced to about 1/3 of the original size. As an alternative, you can continue to add materials and use a section of ¼ inch metal screen to sift out the finished compost from the pile when you are ready to add it to your lawn or garden.
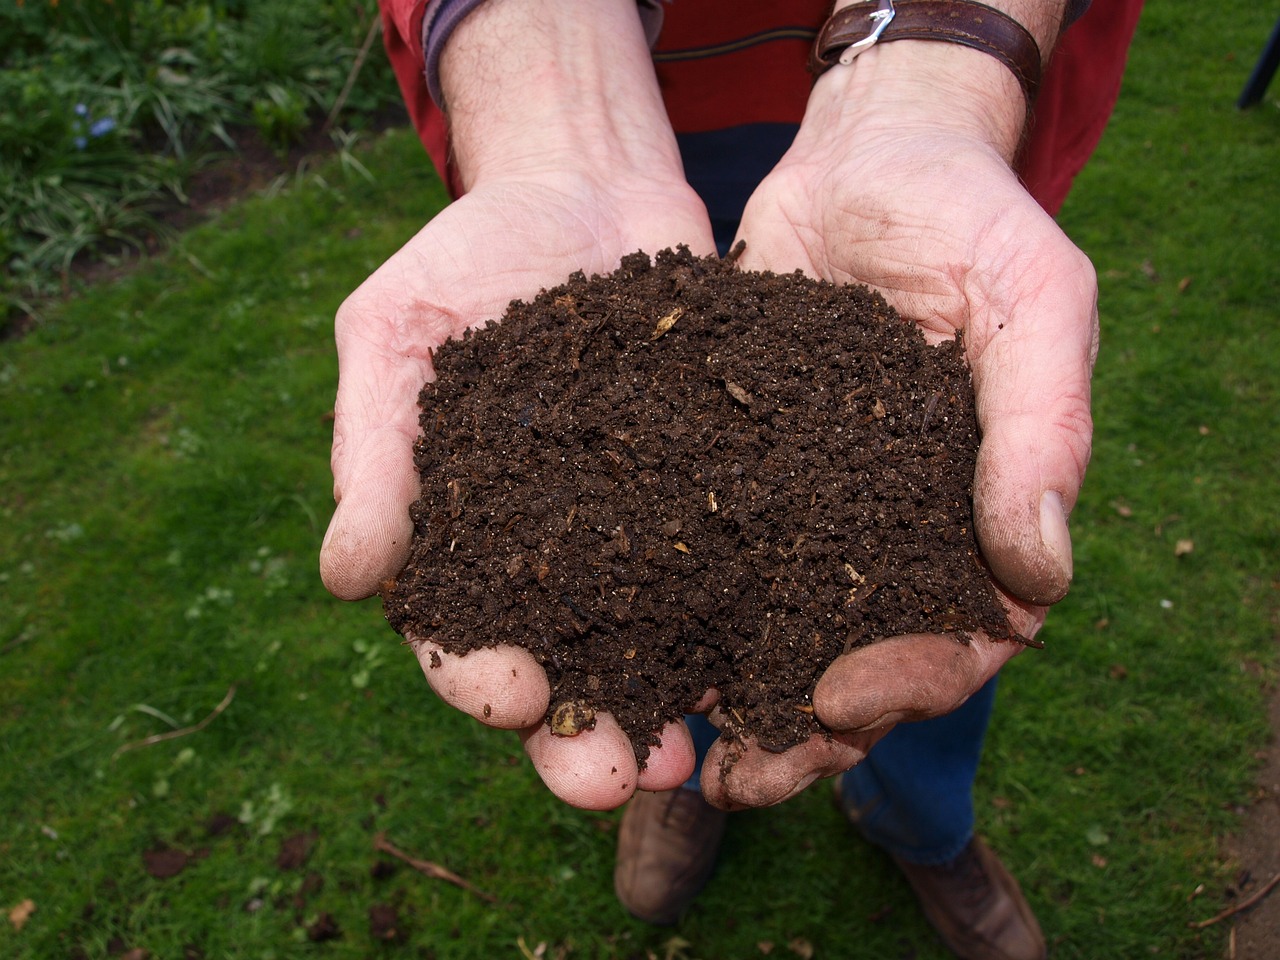
By composting you can watch your “trash” gradually reduce to a rich, humus-like material that can be spread in your garden or lawn once it is fully decomposed and cool. Your recycling bin can continue its work helping the environment and, in this case, helping your own lawn and garden.
Beth Rodgers, Ph.D., is credentialed as a Master Composter in several states and also earned a certificate in Community Composting. Currently she volunteers as a Master Gardener with Chesterfield County Extension. She is a former college professor and nurse researcher and consults on a variety of health care and environmental issues.
Tags: compost, DIY, reuseCategory: News